An A (Address) record is used to point a domain name to an IP address. In this Standard Operating Procedure (SOP), we’ll guide you through the process of setting up an A record for your domain name in Namecheap.
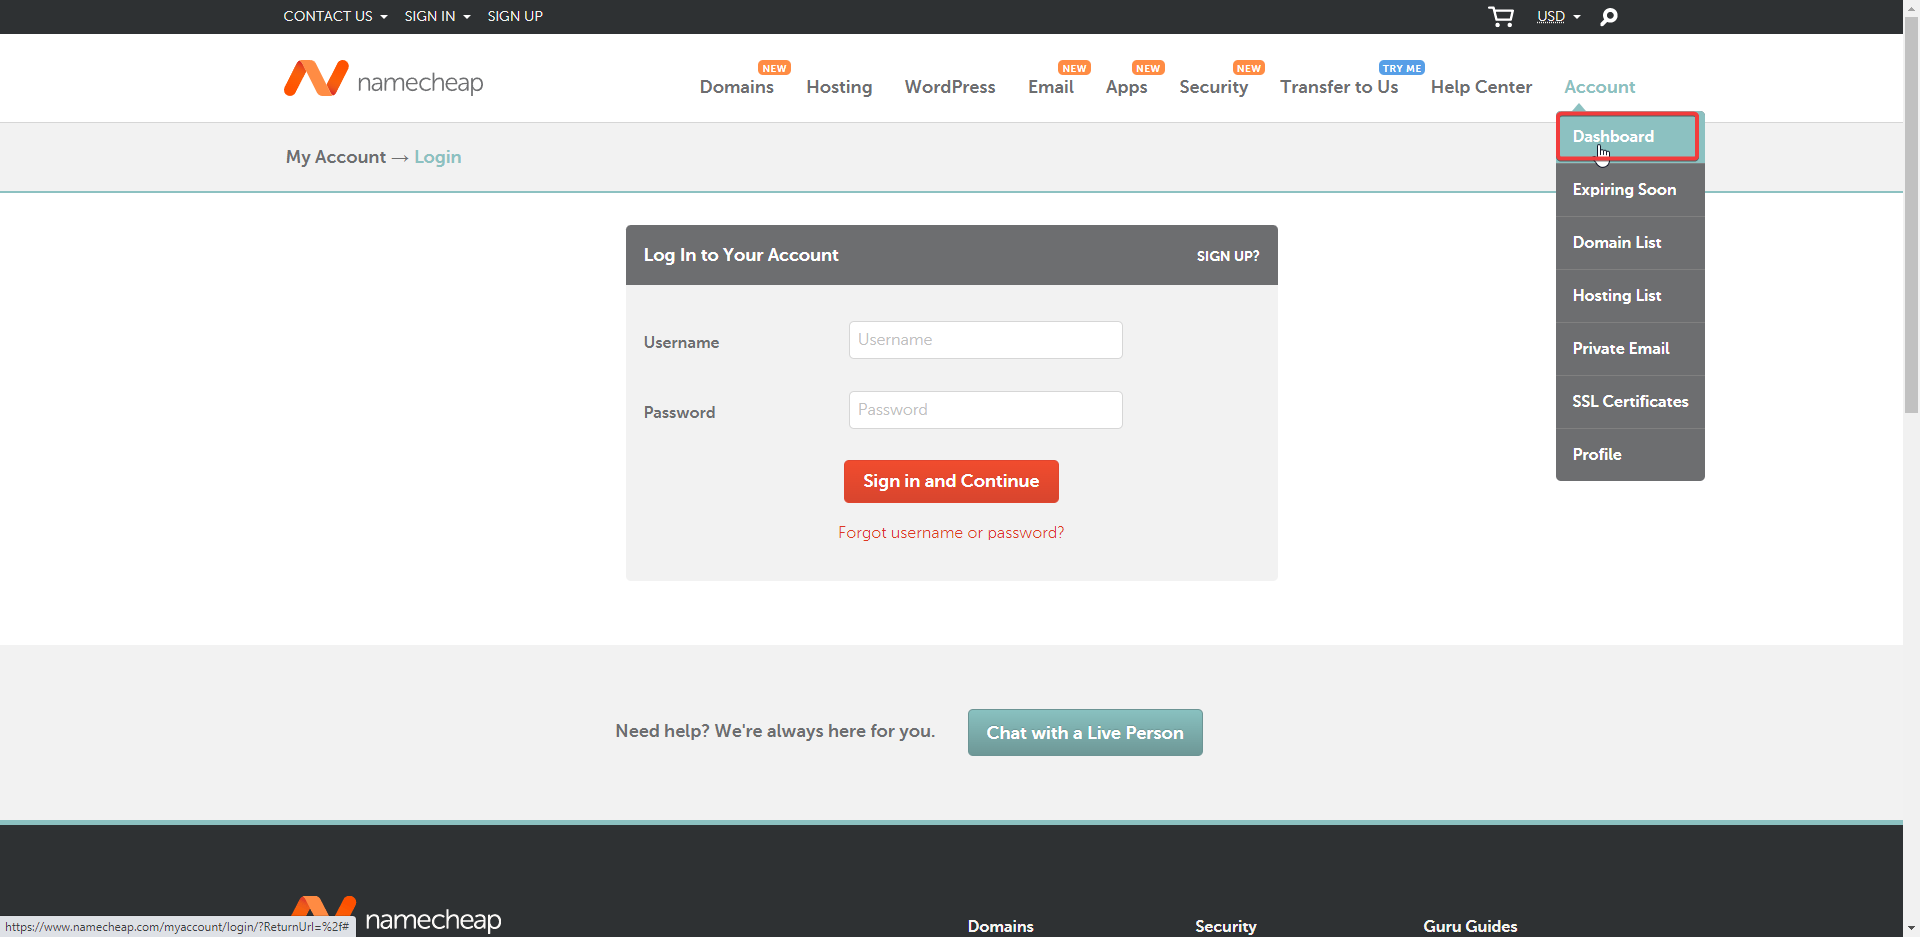
- Log in to Namecheap: Go to the Namecheap website (https://www.namecheap.com/) and log in to your account. If you don’t have an account, you’ll need to create one and register a domain.
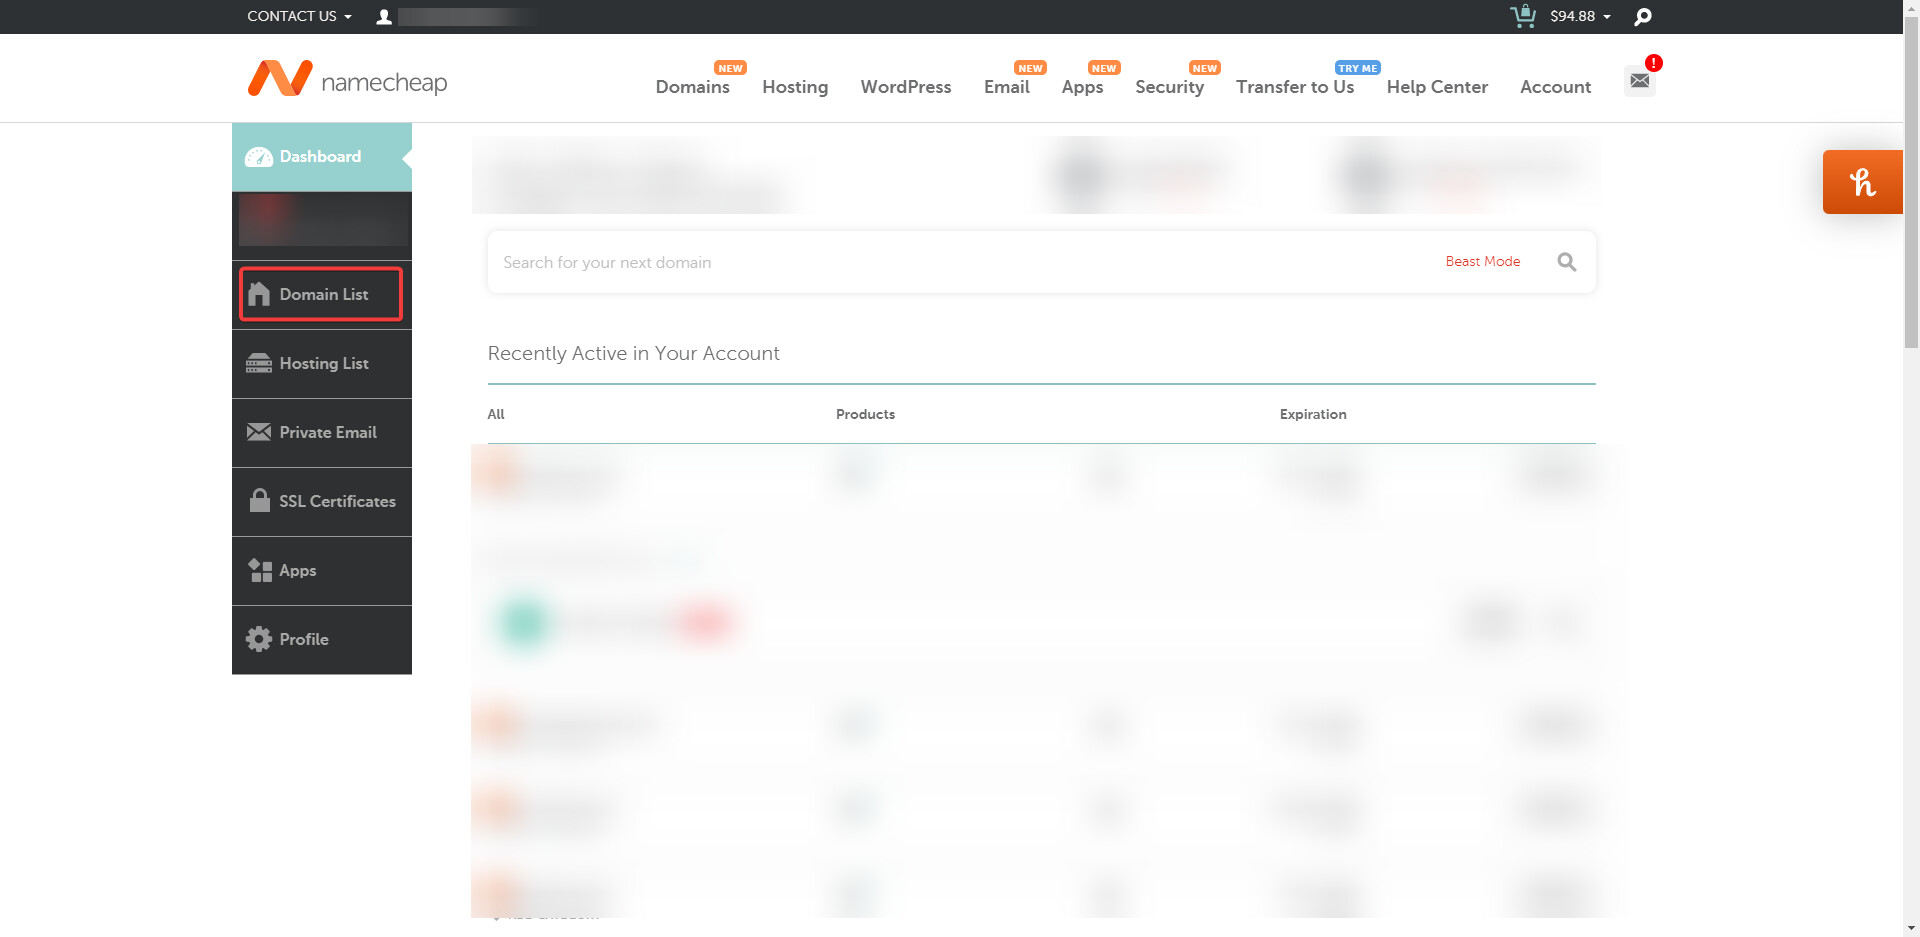
- Access the Domain List: Once logged in, click on the “Domain List” option on the left-hand side menu. This will display a list of all the domains associated with your Namecheap account.
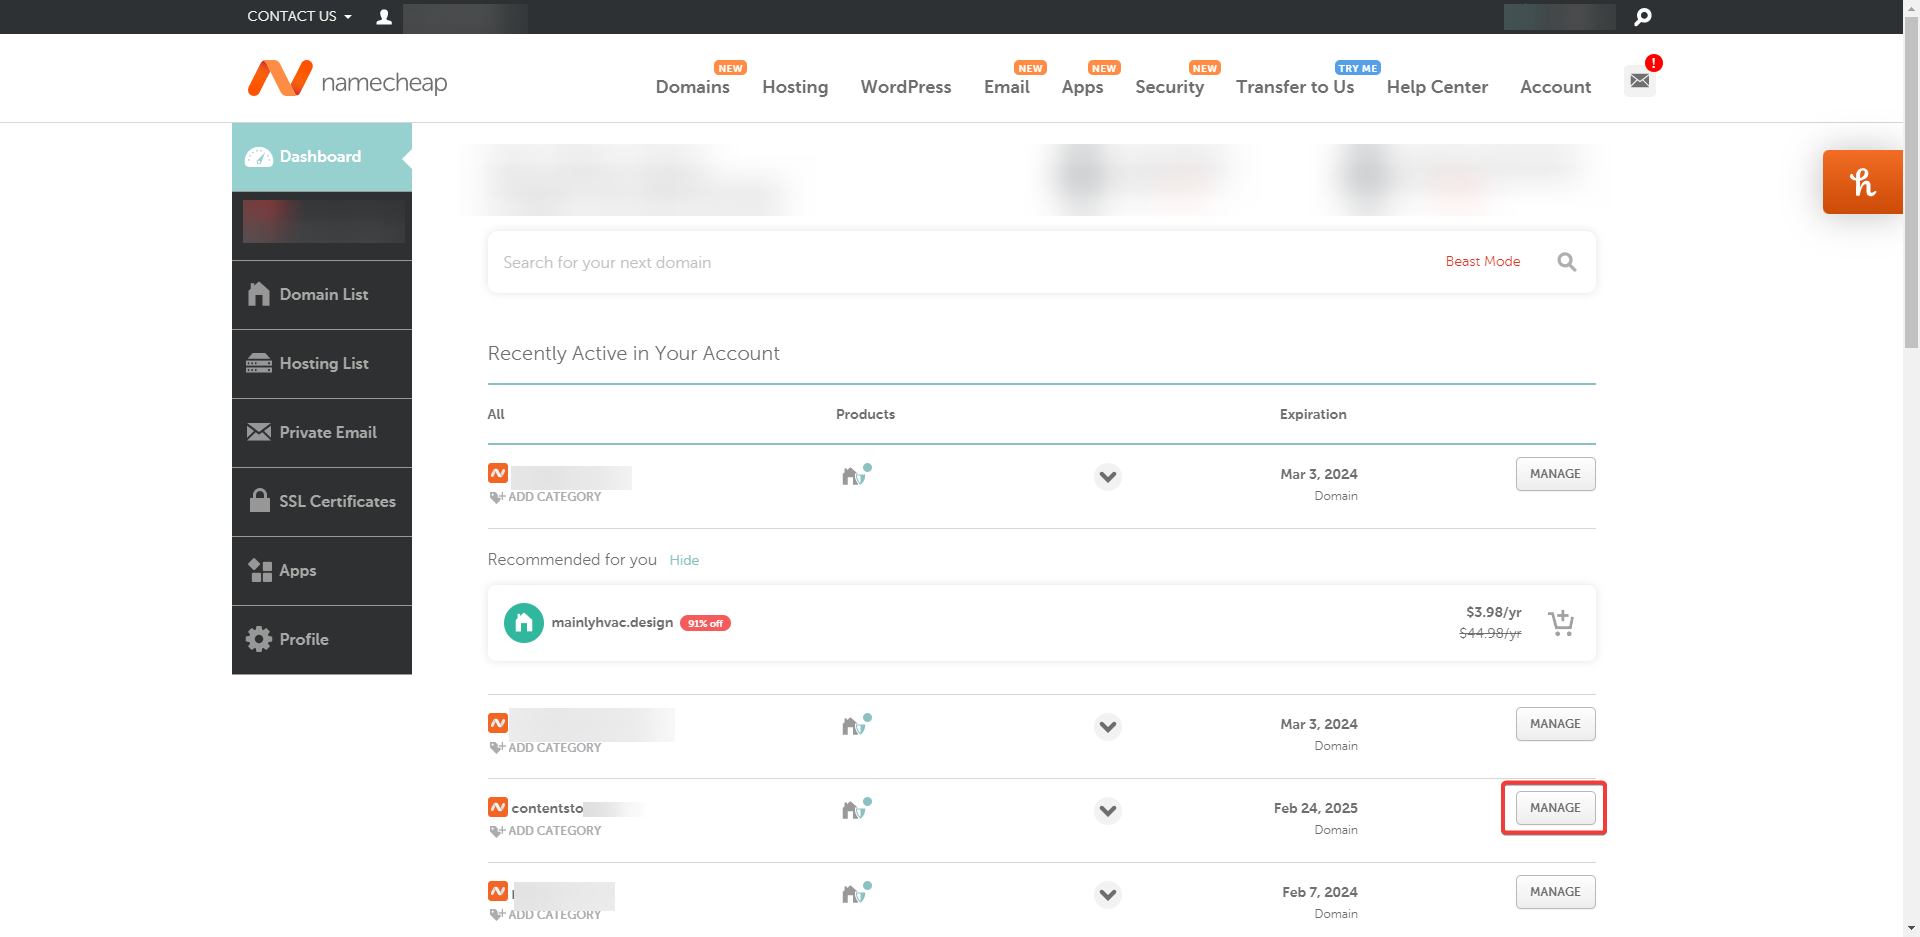
- Choose the Domain: Locate the domain name for which you want to create an A record, and click the “Manage” button next to it.
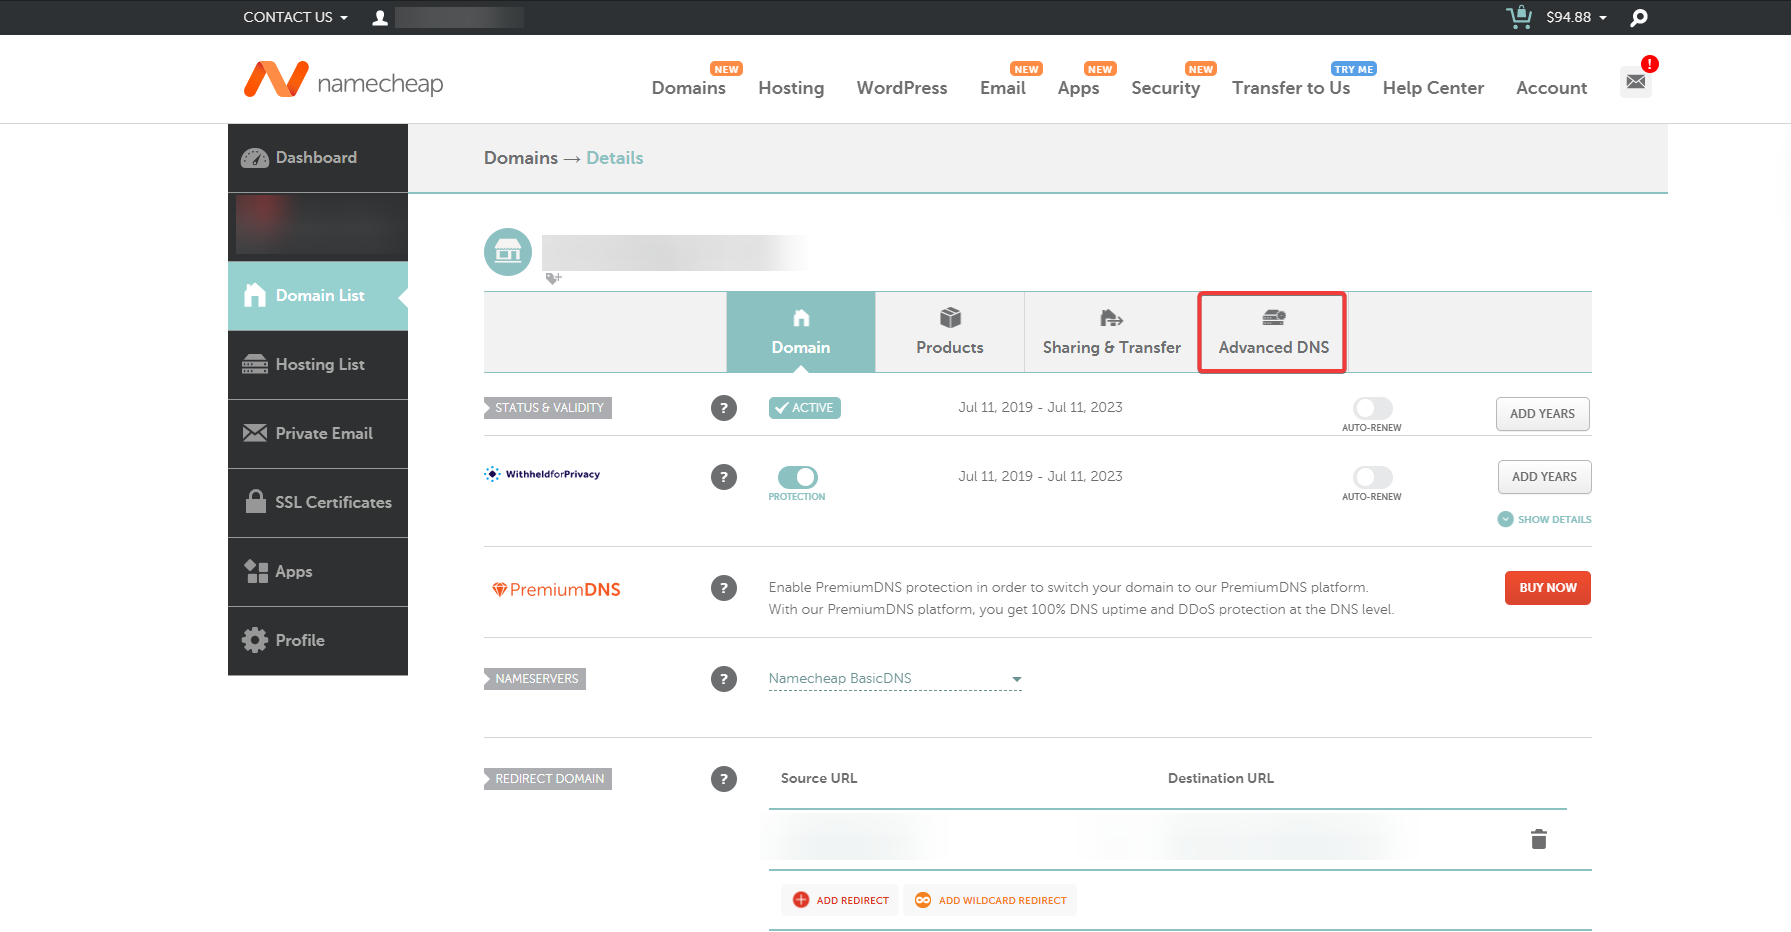
- Navigate to Advanced DNS Settings: In the domain management interface, click on the “Advanced DNS” tab at the top of the page.
- Add a New Record: Scroll down to the “Host records” section and click the “Add New Record” button.
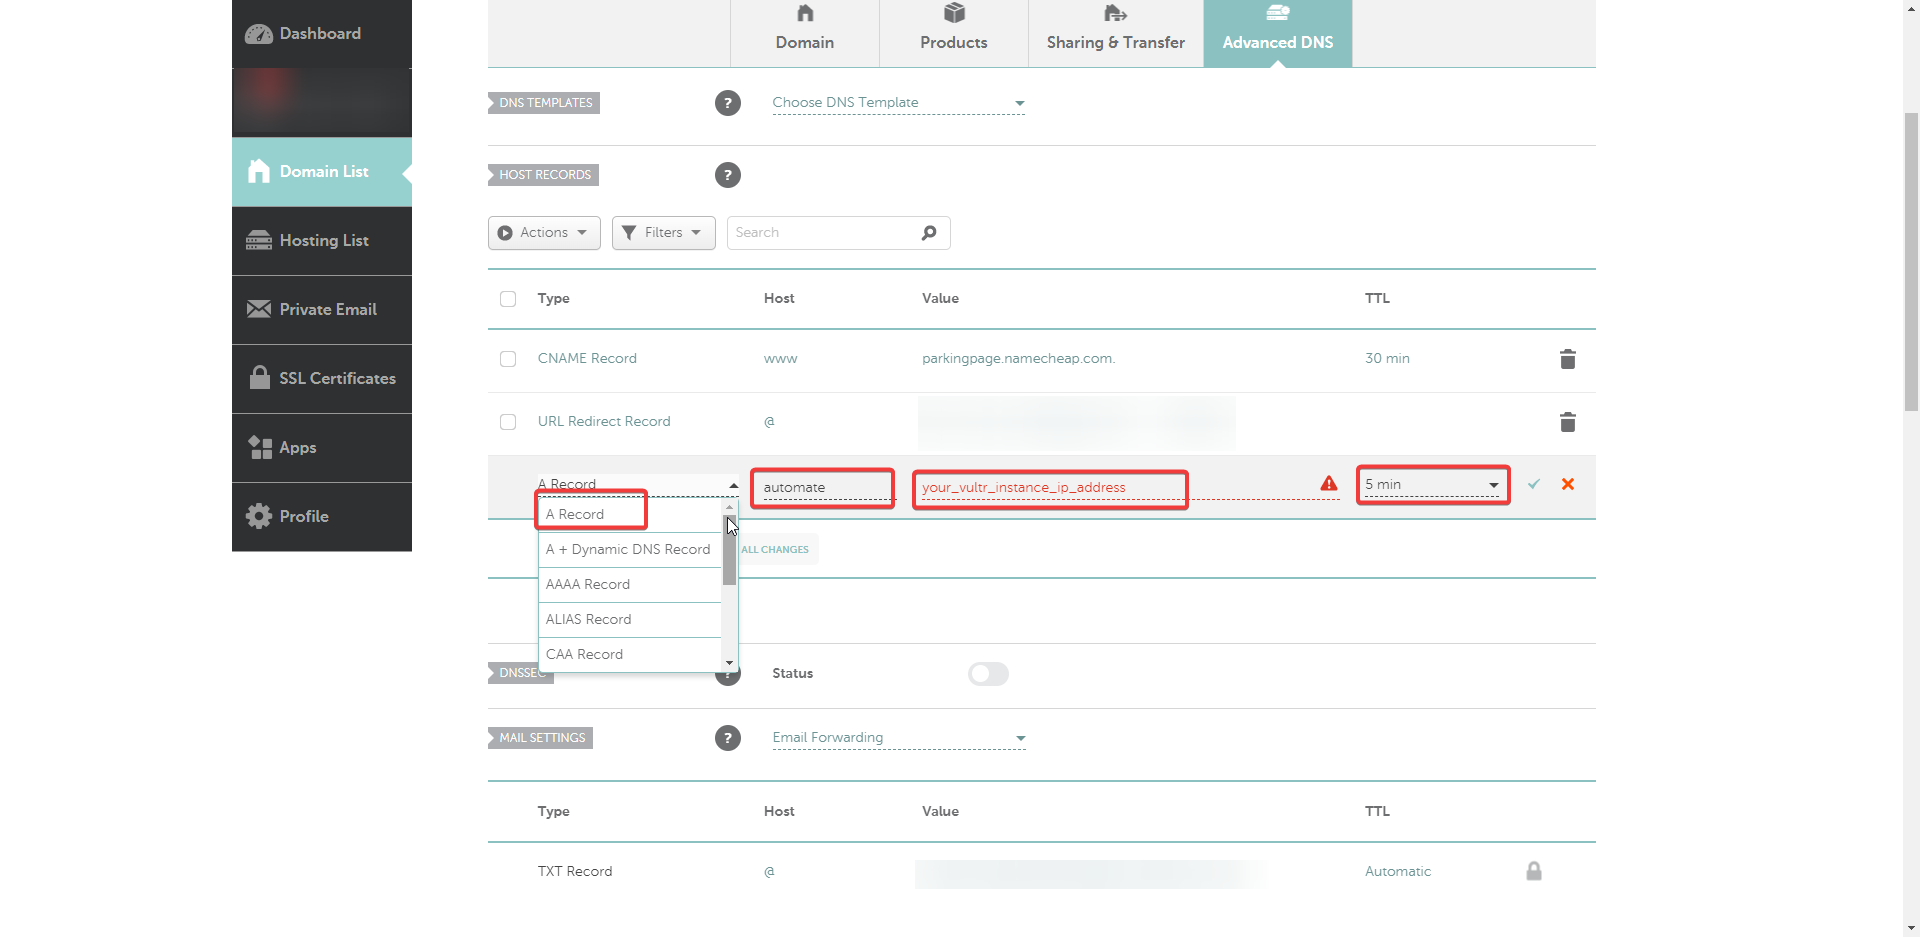
- Create an A Record:
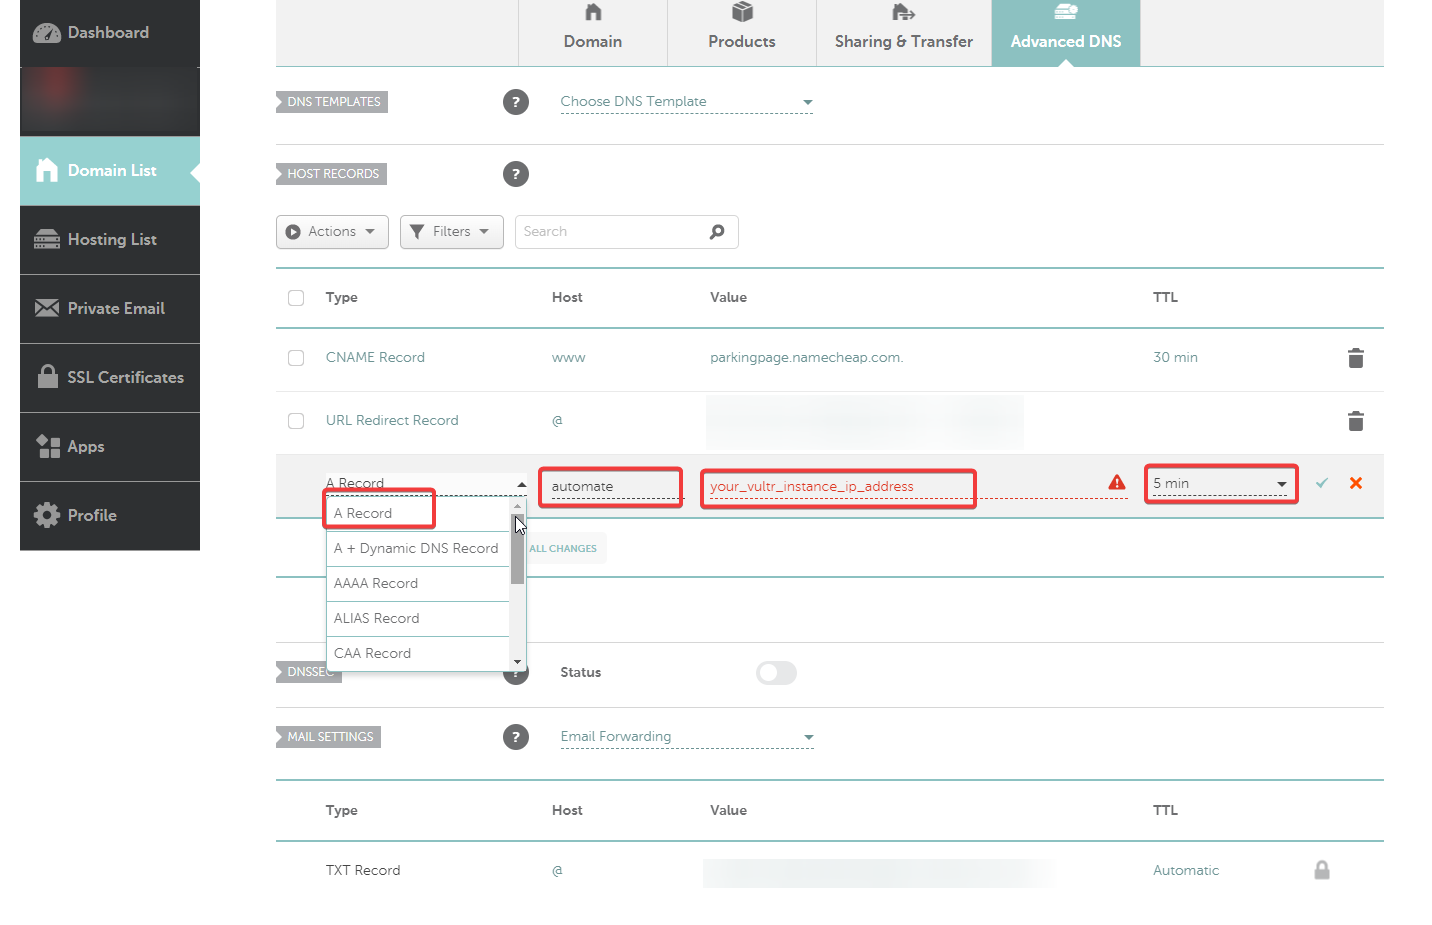
- From the “Type” dropdown menu, select “A Record”.
- In the “Host” field, enter “@” if you want to create an A record for the root domain (e.g., example.com) or enter a subdomain (e.g., “www” for www.example.com).
- In the “IP Address” field, enter the IPv4 address to which you want your domain to point.
- Choose a “TTL” (Time To Live) value from the dropdown menu. This value determines how long the DNS record will be cached by DNS resolvers. A common value is 1800 seconds (30 minutes), but you can choose a different value if desired.
- Click the green checkmark to save the new record.
- Confirm the Changes: The new A record should now appear in the “Host records” list. It may take up to 48 hours for the changes to propagate across the internet, although it usually happens much faster.
- Test the A Record: Once the DNS propagation is complete, test the A record by visiting your domain in a web browser or using a tool like “ping” or “nslookup” to verify that the domain resolves to the correct IP address.
You have now successfully set up an A record in Namecheap.